


Finished Skirt
So I realise I have about a million and one things to upload on here - but I thought I would start with my most recent effort this weekend. All up this probably took about 8 hours. I had been looking for a nice skirt pattern and opted for this one because I liked the unique shape of the yoke and the concealed pockets. This is Simplicity Pattern 2451.
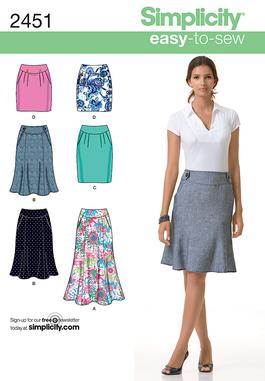
I made view D
I had found this pretty floral printed quilting fabric that I really wanted to make a skirt with (I usually team with black tights so knew it would contrast well)
See pics below for the journey :)

First I laid out my pattern pieces on my folded fabric and pinned down. Then I cut them all out. remembering this time to cut my notches. Sometimes I forget and just slice away. Then I went though the process of marking the lines for darts, pleats and circles.

I then pinned the pleats at the front and machine basted.


Next, I pinned the pockets to the front of the skirt, stitched on and understitched the seam.
See below for understitched pockets


Then I pinned the pocket facing to the pocket and stitched on.

I made darts in the back two pieces and stitched together up to notch (leaving room for zipper insertion.

Finally, the back and front were ready to come together - and I stitched the sides.


I applied fusible interfacing to front and back yoke pieces.

I finished my seams by pinking (overlocker on the fritz and it is not really a fraying fabric) so it was okay.

Even though the pattern does not call for it, I decided to insert a lining as well as I didn't want the cotton to catch on my tights. Plus it was quite thin and I thought this would finish it off better. I'd never done a lining before and there were no instructions since it's not part of the pattern so I just winged it. re-cut the pattern pieced but pinned the pocket front on so that it would be the right size.

This is the cut out front piece still pinned to pattern paper

I then applied pleats, darts, stay-stitching and joined all pieced of the lining together. I inserted it inside the skirt and pinned then machine basted.

I stitched the front and back pieces of the yoke.

I pinned the yoke to the skirt.

I then pinned in my zipper and stitched. I realised here that the zip was too short. The pattern instructions call for a 7" zip - so that is what I purchased, however it became clear that I need an 8" zipper. When I raised the zipper and the seam the skirt wouldn't fit over my bum, and when I moved it back down there was about a 1" gap left at the top. Eventually I overcame this by adding some pink ribbon to make a bow at the back as well as the required hook and eye closure at the top. It's quirky, but I like it.

I then pinned and stitched on the yoke facing.

I was going to finish my edge as per the instructions but didn't like the look of the stitches at the bottom being visible. So I applied a heavy duty fusible hemming web in first a thin layer at the bottom, then I folded this up and applied another layer to finish it off neatly.
With the lining, I trimmed it to length then folded up twice to neaten the edge and did a straight stitch.
See images below of finished skirt. It was hard to find appropriate lighting to shoot the skirt. I also couldn't find many images I liked of it. It definitely looks much better in real life.

yoke/pleats

Close-up of pleats.

Pocket.

Back with emergency bow added :p

The creases in the back are from my top underneath.
Overall, this was a really simple to make skirt (with the exception of the zipper debacle) I am definitely going to make this again. I would love to make it in a 1" black and white houndstooth wool. Perhaps with some black piping around the yoke. Definitely going to use a longer zipper next time though.
I hope you enjoyed reading this. Please feel free to leave comments :)
I hope you enjoyed reading this. Please feel free to leave comments :)
Alyce x